How to install water slide decals
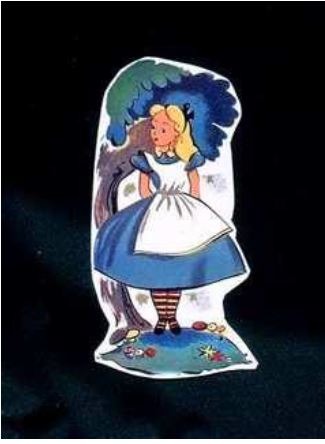
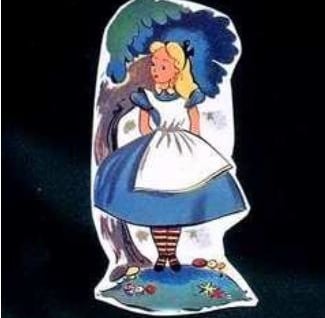
Cut the images close without cutting the image, as shown, from the 8x10 decal sheet. Place one image at a time into a bowl of lukewarm water. The decal will curl and eventually straighten within a few seconds. Apply a few drops of water in the place you want to apply the decal. Slide the decal on its backing so it will slide enough to provide an edge you can press onto the surface of the object receiving the decal. Grip the backing and carefully slide it off the backing onto a wet surface.
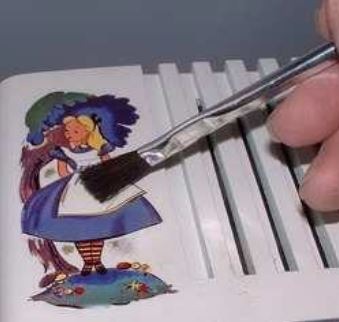
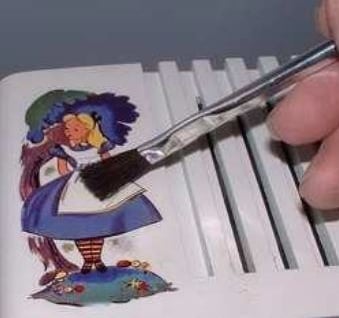
Using a makeup brush, or my preference, a new soft acid brush, slide the decal to its desired position and brushing from the middle to the outside edges, brush all the bubbles from under the decal and then using your finger. Hold the image from sliding around and using a soft paper towl or toilet paper, wetted of course, to wipe the decal down and pressing the water from under it, for good adhesion when it is dry.
When you are happy with the positions and smoothness of the decals, allow to dry 24 hours. I then recommend a clear coat of clear enamel spray over the entire cabinet to protect the decals from fading and chipping.